Feature Availability: PRO & PREMIUM PLANS
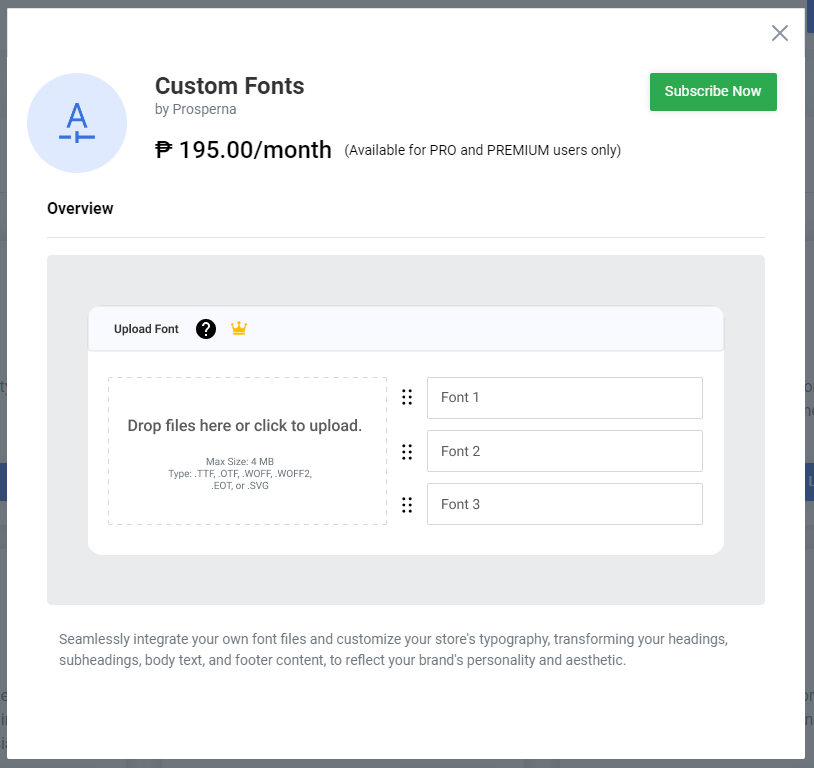
The Custom Fonts feature, available exclusively on PRO and PREMIUM plans, enables users to upload their own font files for use in website text elements like headings, subheadings, body text, and footer content.
Why is it important? This functionality enhances user satisfaction and meets market demand for personalized website branding.
Skill Level: Beginner | Advanced | Expert
How long does it take to do? 5 Minutes
Requirements
- Custom Font (file format: .ttf, .otf, .woff, .woff2 )
Note: Up to 3 fonts can be uploaded. Custom fonts can be used sitewide in addition to the fonts available in the drop-down list.
Summary
- Go to Marketplace
- Under Custom Fonts, click Learn More
- Subscribe Now
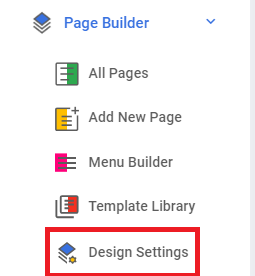
- Go to Page Builder, select Design Settings
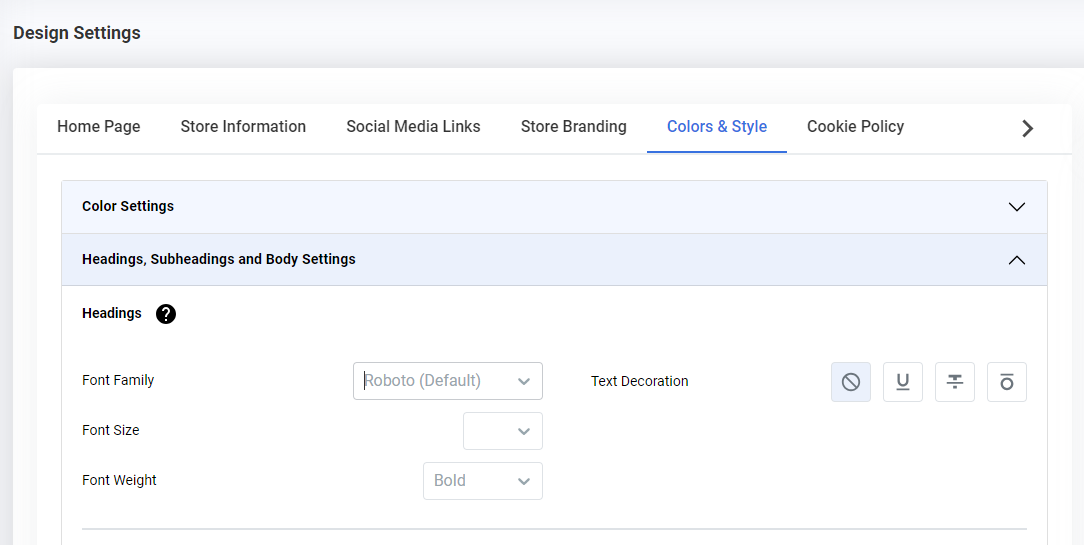
- Under Colors & Style, Go to Headings, Subheadings and Body Settings
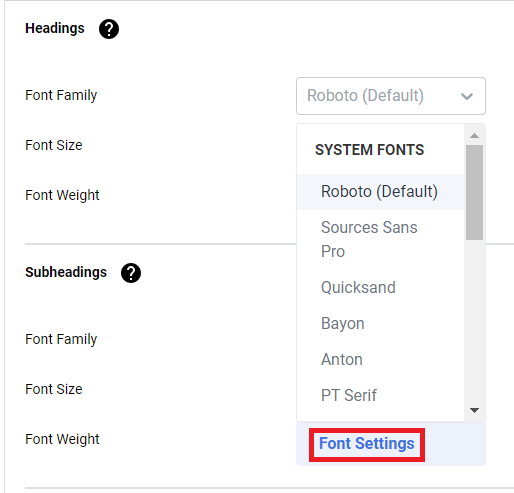
- Under Font Family, click Font Settings
- Upload Font and Click Save
Steps to Add Custom Fonts
1.Go to Marketplace

2.Under Custom Fonts, click Learn More

3. Subscribe Now
4. Go to Page Builder, select Design Settings
5. Under Colors & Style, Go to Headings, Subheadings and Body Settings
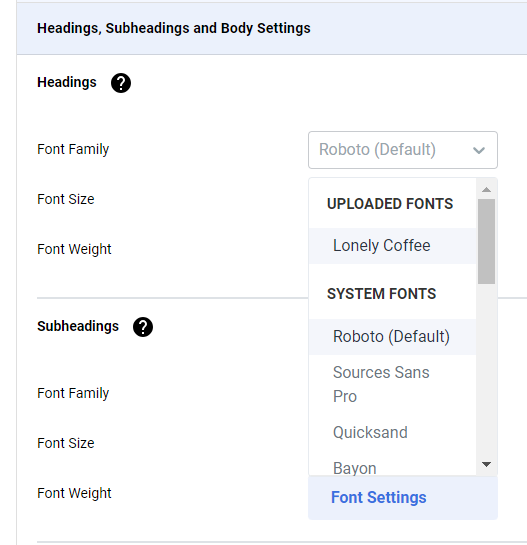
6. Under Font Family, click Font Settings
7. Upload Font and Click Save
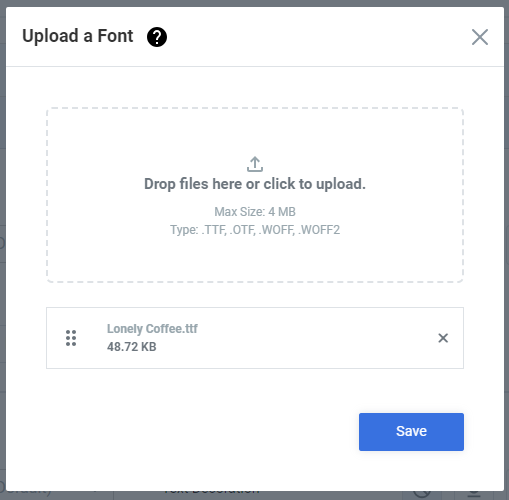
Results: You have successfully added Custom Fonts

Need more help?
Did you find this article helpful?
0 of 0 found this article helpful.
0 of 0 found this article helpful.
Can't find what you're looking for?Log a ticket